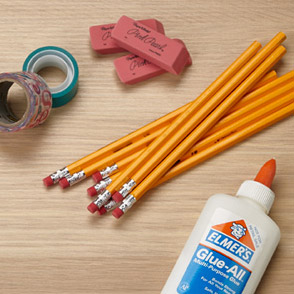
Step 1
Gather your supplies.

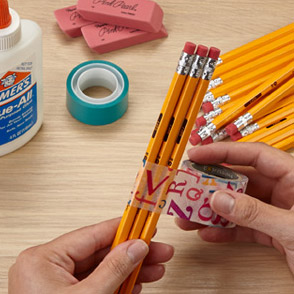
Step 2
Begin by makng the photo frame sides. To do this, group three pencils and wrap decorative tape around than to hold them together. Repeat this to create each side.

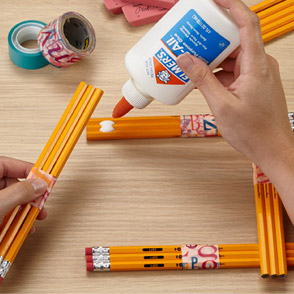
Step 3
Beginning just below the metal portion of a pencil group, place a generous amount of glue. Next lay another group of pencils at a 90° angle on top of the glue to create two sides of the frame. Repeat this with each group until all four sides of the frame are created.

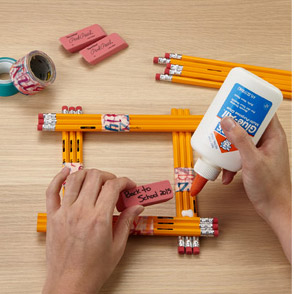
Step 4
Next, write a short message on your eraser with a permanent marker. Some examples you can use are:
- Back to School
- Nash gernentary
- Jamie
Attach the pink eraser to the frame using school glue. Add a photo to your franne by adding small dots of glue to the front corners of your photo and attaching from the back of the frame. Be sure to allow glue on all pieces to dry completely before handling.
Hints & Tips
Attach a paper clip to the back with school glue to hang your frame. For a faster time, use a hot glue gun and hot glue instead of school glue. Colored pencils make a colorful alternative to No. 2 pencils. Glue cap erasers in the corner of the frame in the shape of a tower as a decorative touch.
Share your finished creation! Be sure to post your art creations on our Facebook page. Facebook.com/quill


