Step 1
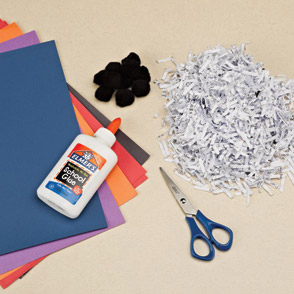
Gather your supplies.

Step 2
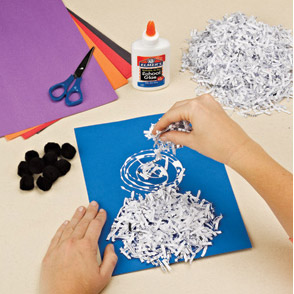
Pick a full sheet of brightly colored construction paper. Start with the bottom of the snowman, and swirl a cirde of glue. Sprinkle shredded paper so all glue is covered. Firmly press shredded paper into the glue. Repeat for the next 2 circles, making them smaller as you go.

Step 3
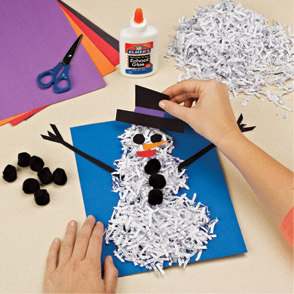
Once the body is created, cut out and glue on your snowman's eyes, arms, hat, nose and mouth. Then glue on the pom poms for the buttons and you're done!

Step 4
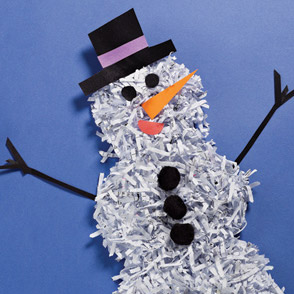
Let your snowman lie flat until completely dry.
Hints & Tips
It may be helpful to draw circles on the paper first with a #2 pencil.
Glue sticks or tacky glue can be used instead of school glue. We strongly dscourage using hot glue because it may burn fingers when they press the shredded paper onto the construction paper.
Try using gift ribbon, scrap fabric, felt or an old sweater to make a snowman scarf.
Instead of construction paper for snowman parts, try colorful magazine pages or wrapping paper.
Wiggle eyes, buttons or pom poms are good alternatives to paper eyes.
Use pipe cleaners or wood twigs for your snowman's arms.


