If this is your first year running a retail store or ecommerce business, this will be your first time experiencing peak shipping season (October through the end of December). With the right supplies, you’ll be totally prepared. You’ll want plenty of boxes and packing supplies – and, of course, labels.
But what kind of labels do you need, shipping labels or address labels? What’s the difference? This post will walk you through when to use each type of label and how you can easily create them.
What’s the difference between shipping labels and address labels?
First things first, let’s make sure you’re getting the right labels for your needs.
What are shipping labels?
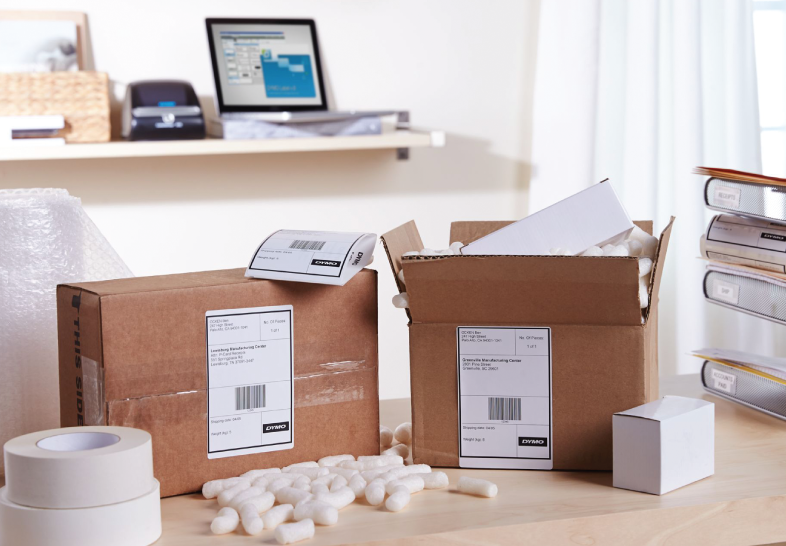
Shipping labels include the recipient’s address as well as the return address, information about postage paid, and tracking information such as a number and barcode.
This is the kind of label you need if you’re sending packages or important letters/notices you want tracking on.
The standard size for these labels is 4” x 6”, but larger and small sizes are available as well. You can find shipping label templates to create your own from Quill. (More on creating and printing labels later in this post.)
What are address labels?
Address labels only include the recipient’s address. You’ll most often see these labels on letters or cards, where tracking is less critical and extra postage isn’t necessary.
You can find/customize address labels to match nearly any theme or branding, making them a good choice for items you want to mail with a little more design consideration.
These labels are much smaller than shipping labels, with the standard size being 1” x 4”. You can find address label templates to create your own from Quill.
Summary of shipping label and address label differences: In short, shipping labels relay a large amount of information without much flair, while address labels communicate one thing and do it with style.
Steps for creating and printing shipping labels
Creating and printing shipping labels is fairly easy; there are just a few things you have to keep in mind. Let’s walk through the steps.
How to create shipping labels
To begin, you’ll need to decide whether you will download your own template, use a third-party template maker, or go directly through the shipping carrier’s website. USPS, FedEx, UPS, and DHL all have their own online shipping label creators anyone can use. Most carriers also have options for batch printing labels.
When you create your label directly with the shipping carrier, you’ll be charged for all the postage needed at the time of label creation. If you use another method, you’ll have to pay for the postage costs separately. However, you may also have more design options and the ability to add your logo to your label with an outside template, so you might prefer to go this route and pay the postage at the time of shipping.
Whichever method you choose, the basic steps are the same:
- Go to your chosen template creator.
- Enter all relevant information.
- Submit, pay (unless it’s a free tool), & create your label.
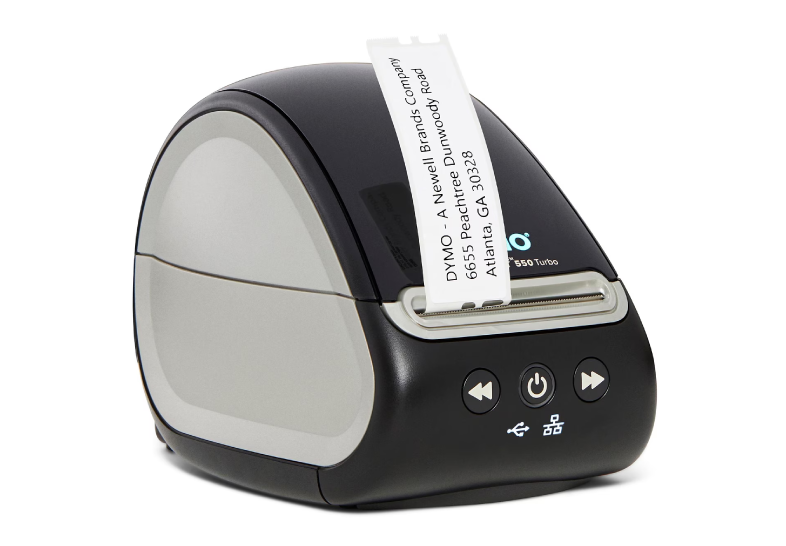
How to print shipping labels
The last steps: printing & sticking. If you create your label directly through the carrier, there will be options to print it at a carrier store. However, inkjet, laser, or thermal are all options for printing shipping labels yourself. You’ll just need different types of label paper for each type of printer.
For inkjet and laser printing, you’ll need adhesive inkjet and laser compatible label paper. You can use copy paper instead, but you’ll need to tape the labels onto your items yourself with packaging tape.
Thermal label printers are specially equipped for the task of printing labels, so if you’re printing a lot of them, investing in a thermal printer might be the way to go. For this type of printer, you’ll need rolls of label tape.
Start labeling & shipping
We hope you now feel empowered to head into peak shipping season. Get everything you need at Quill and find more tips about packaging and shipping on the Quill Blog.